Cricut machine and don’t know where to begin, this guide will help you get started! When it comes to connecting your machine, Cricut offers two options: USB and Bluetooth. This guide will mainly focus on “how to connect Cricut to Bluetooth“. Before starting the connection guide, here’s an important tip. You need to download Design Space on your device to ensure compatibility with your Cricut machine.
Note: You can connect every Cricut machine via USB and Bluetooth, but the Cricut Joy and Cricut Joy Xtra can only be connected via Bluetooth. They do not come with a USB cable.
Minimum System Requirements to Download Design Space
Before connecting your Cricut machine to your device via Bluetooth, ensure your computer meets the specific system requirements to download Cricut Design Space.
- For Windows: You will require Windows 10 or later, 4 GB of RAM, a Dual-Core Intel or equivalent AMD processor, as well as 2 GB of free disk space.
- For macOS: You will need macOS 11/12 or later, 4 GB of RAM, a 1.83 GHz processor, and 2 GB of free disk space.
Additionally, both Windows and macOS require a broadband internet connection with a download speed of 2-3 Mbps and a minimum upload speed of 1-2 Mbps when using Design Space online.
Note: Older computers or operating systems might lack Bluetooth compatibility. Before attempting to connect, make sure your computer is Bluetooth-capable.
Download and Install Cricut Design Space on Computer
You can follow the instructions in the section below to download and install Design Space on your Windows or Mac computer:
Step 1: Power on both your computer and machine and place them within 10 to 15 feet of each other.
Step 2: Then, goto your web browser and type design.cricut.com/setup.
Step 3: After that, enter your machine model in the search bar.
Step 4: Select the “Download” button or a similar option, likely labeled with your operating system (Windows or Mac), and agree to the terms of use and privacy policy.
Step 5: Double-click the .exe file or .dmg file located in the Downloads folder to initiate the installation process.
Step 6: A setup window will show up, displaying the installation progress. Within some time, you will see the software on your home screen.
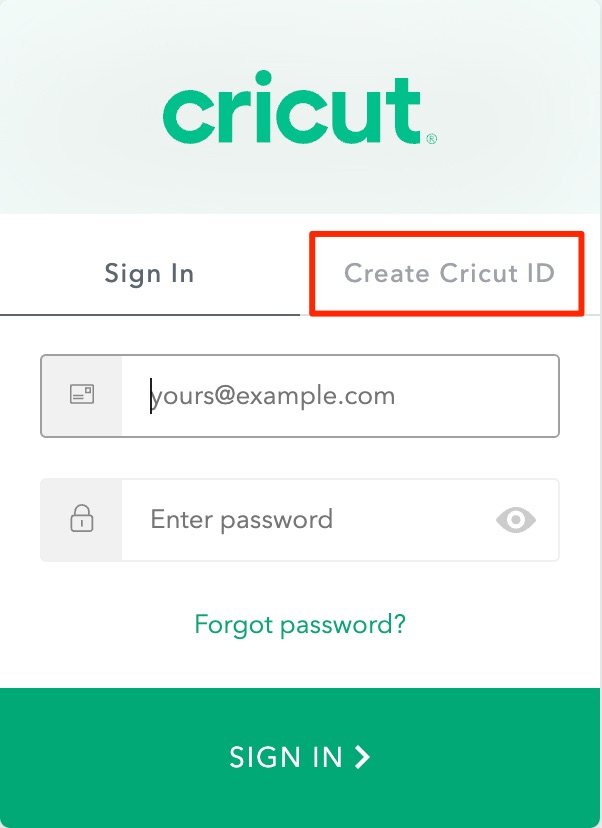
Step 7: Open the Cricut Design Space and sign in with your email ID and password. Click ‘Create Cricut ID’ if you’re new or haven’t created your account yet.
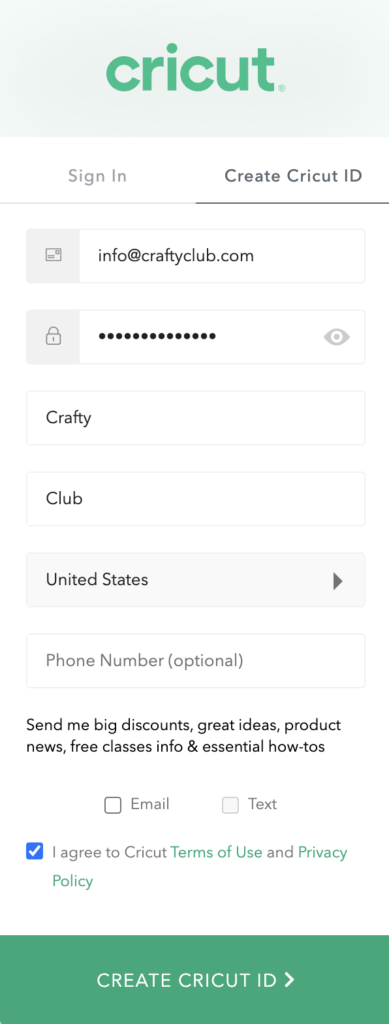
Step 8: If you click on Create Cricut ID, a window will prompt you to fill out the form. Complete the form carefully and review it before submission.
Step 9: Select the checkbox at the bottom that says, “I agree to Cricut’s Terms of Use and Privacy Policy.“
Step 10: Go to Cricut Design Space Settings and click on the Machines tab.
Step 11: Click the “Start” button next to the “New Product Setup” option.
Step 12: Select your machine from the given options, and it will prompt you with a basic setup guide.
Now, you can connect your crafting machine using Bluetooth or a USB cable.
How to Connect Cricut to Bluetooth on Windows/Mac?
Follow the instructions given below to connect your machine to Bluetooth with ease:
Note: Make sure your machine is powered on and positioned within 10-15 feet of your computer.
- Open the Start menu and select Settings.

- Next, select the Devices option.
- Ensure your Bluetooth is enabled.
- After that, select “Add Bluetooth or other device.”

- Select Bluetooth and let your computer detect your machine. Select your machine from the available options.

- If asked for a PIN, enter 0000 and click Connect to complete the pairing.
Your machine is now paired with your Windows computer via Bluetooth!
Note: If you encounter Bluetooth device Discovery Issues on your Windows 11, open your Bluetooth settings and select ‘View more devices.’ In Bluetooth device discovery, switch it from the default to Advanced mode.
Frequently Asked Questions (FAQs)
How to Connect Cricut to a USB cable?
The USB cable is an essential component of the machine. To connect your machine via USB cable, follow these steps:
- Power on your Cricut machine and computer.
- Connect one end of your USB port to your computer and the other end to the back of the machine.
- Now, return to your Cricut Design Space and New Product Setup. During setup, your machine will appear as connected.
What should I do if Cricut machine does not show up as an available device?
If your machine doesn’t show up as an available device while pairing via Bluetooth, you can follow the steps:
- First, connect your machine using a USB cable.
- Click on the Windows Start menu and type “Command Prompt” in the search field.
- After that, select Open.
- Next type: cd %HOMEPATH%\AppData\Local\Programs\ “Cricut Design Space” \resources\plugins\device-common\ in the Command Prompt window.
- Now, type: .\CricutDevice–fixbluetooth.
- Return to the Devices section, and you will find your machine will now appear as connected.
How Do you unpair or remove a Bluetooth device?
You can follow the steps given below to remove or unpair a Bluetooth device from your Windows/Mac computer or iOS/Android device:
- Firstly, you need to go to the Start menu and click Settings.
- In the Windows settings, select the Devices section.
- Select the device you want to remove, then confirm the action.
Note: The process may vary depending on your device and operating system version. After you remove or forget a Bluetooth device, you will need to repeat the pairing process to use it again.