Are you struggling to use the Cricut transfer tape yourself? Worry not; we’ve got the right solution for you. Transfer tape is an essential tool that simplifies the crafting process by ensuring the precise placement of vinyl designs onto project surfaces. Without transfer tape, the design can be easily damaged, ruining all your effort. In this guide, we’ll learn how to use Cricut transfer tape. So, without further delay, let’s dive into this!
What Is Cricut Transfer Tape?
Before we move to learning ‘how to use Cricut transfer tape‘, let’s first explore some essential basics about it. As the name suggests, Cricut transfer tape is a special tape designed to transfer your freshly cut adhesive vinyl to your project, such as a mug, bottle, phone case, or anything you are using. While working on the project, it is important to use transfer tape because otherwise, you’ll easily end up ruining your designs. Using transfer tape ensures precise placement, simplifies transfers, and works on various surfaces with reduced waste.
What Materials Are Required?
Now that you understand what ‘Cricut transfer tape‘ is for and how important its role is in the making of your crafting project. It’s time to learn what essentials you’ll need to use transfer tape:
- Vinyl cut
- Weeded
- Transfer tape
- Scraper or other burnishing tool
Steps to Use Cricut Transfer Tape
Here are the steps to start using transfer tape for your project.
Step 1: Clean the Surface
Gently clean and dry your project surface using rubbing alcohol. This will help you to remove all the dust and grease accumulated by the pollutants in the air.
Step 2: Design and Cut the Vinyl
Create a cutting design using Cricut Design Space and upload it to your crafting machine for cutting. Once you cut the vinyl, use the weeding tool to remove unnecessary parts of the design, ensuring you achieve the desired outcome.
Step 3: Cut the Transfer Tape
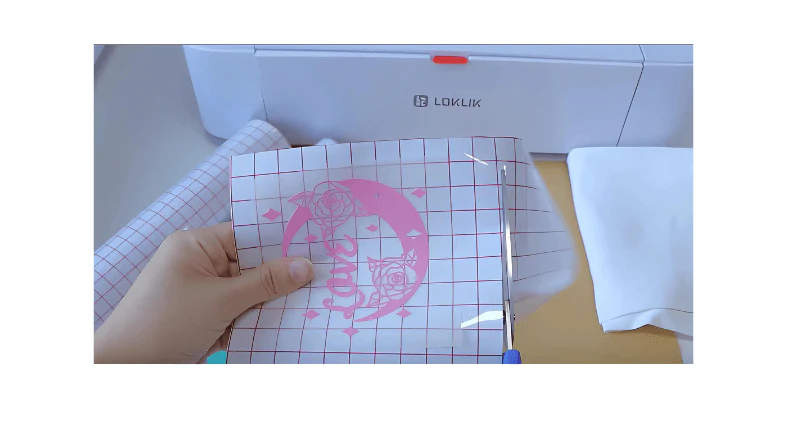
In this step, you’ll need to cut down the piece of transfer tape that covers your overall design.
Place the tape on the vinyl design, ensuring the adhesive side is facing outward.
Step 4: Apply the Tape
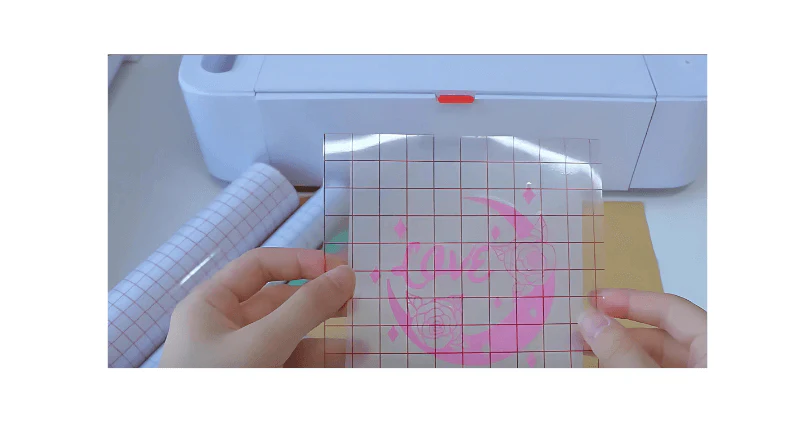
Once that’s done, remove the tape, starting from the inside, and secure everything with the tape. Use the squeegee tool to remove unnecessary bubbles and properly secure the vinyl design.
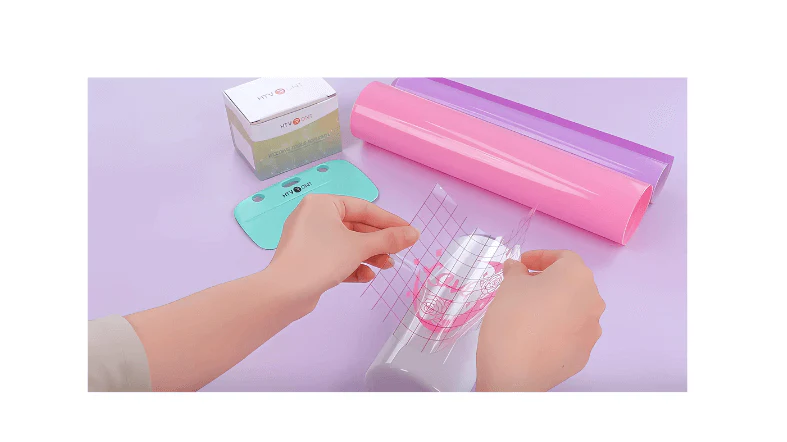
Step 5: Peel off the Tape

After the vinyl design is transferred to the tape, it will be time to peel off the tape. While doing this, make sure that the vinyl transfers completely onto the surface without sticking to the backing paper.
Step 6: Place and Press the Design
Now, carefully place the design on the targeted surface and let it stay in place for a while. For dry surfaces, use a squeegee to press the design firmly, starting from the center and moving outward, to remove air bubbles.
However, if it’s a wet surface, spray soapy water on the substrate before you place the vinyl. Then, use a squeegee to push out any imperfections, such as bubbles.
Step 7: Remove the Tape
Once you finish, start peeling back the tape while ensuring it doesn’t pull out the vinyl design. However, if you lift any part of the vinyl, place it back and press and rub the tape before peeling it again.
Step 8: Clean Up and Finish
After using the transfer tape, clean up any excess adhesive and inspect the design for imperfections. Once you’ve done that, you have just successfully used transfer tape.
Helpful Tips for Using Transfer Tapes
Here are some tips for using transfer tape for your DIY projects:
- If you are a beginner, try testing the transfer tape on a simple area to get the hang of it. Once you are confident enough, move on to the main project design and area.
- Always clean and dry the surface before applying transfer tape to ensure proper adhesion.
- Do not stretch the transfer tape while applying it to avoid folds. This will ruin your design.
- If you are using a complex design or a rough surface, the wet application process is ideal. This will help you move the vinyl without the adhesive spreading across the substrate.
- Lastly, work in an environment with appropriate temperature and ventilation, free from dust, oil, and wind.
Conclusion
Cricut transfer tape is a versatile tool that helps you transfer various designs onto various surfaces. When used correctly, transfer tape ensures precise application of vinyl designs and makes crafting easier. In this guide, we provide step-by-step instructions on how to use transfer tape to ensure your crafting success. In the end, we hope you find this guide useful in learning ‘how to use Cricut transfer tape‘. However, if you encounter any difficulties or confusion while creating a project on Cricut, feel free to reach out to us for expert guidance. We are experts who are dedicated to helping new Cricut users.
Frequently Asked Questions (FAQs)
Why Is My Cricut Software Not Loading?
You can be assured of the following points:
- A poor internet connection can lead to loading issues.
- Ensure your Wi-Fi is enabled and that you have a stable, high-speed internet connection.
- Consider restarting your router to resolve potential connectivity issues.
- Please clear your browser cache, as it helps in resolving loading issues. In your browser settings, find the option to clear cache and cookies, then restart the browser
How to Install Cricut Design Space on Chromebook?
Follow the instructions given below to install Cricut Design Space on Chromebook:
- Download the software on your device from the Play Store.
- Open the app and sign in/ create an account.
- Turn on your machine.
- Go to the system launcher on your Chromebook and turn on your Bluetooth.
- Your machine model will appear within the Bluetooth menu list.
- Select your model from the Bluetooth menu to connect your machine to Cricut Design Space.
- Enter the default code 0000 if prompted.
- Prepare your project in Cricut Design Space.
How Do I Refresh Cricut Design Space?
If you want to refresh, especially after installing fonts or encountering issues, you can do so with the help of the following steps:
- Open your Cricut Design Space.
- Click on the “More” menu in the top right corner (or the “View” option on Mac).
- Select “View” and then “Reload” or force reload.
- Cricut Design space will reload, potentially resolving any issues and making new fonts visible.
How to Access Cricut Design Space on Mac?
If you want to access the software on your system, follow the steps in the section below:
- Open your web browser and visit https://cricut.com/setup/.
- After that, enter your machine model in the field, select the box to agree to the terms and conditions, and click ‘Download Design Space for Mac’.
- Your Downloads folder will appear on your screen by default. Click “Save” to begin the download process.
- Once downloaded, double-click the .dmg file.
- Now, drag the Design Space icon to the Applications icon to begin the installation process.
- In order to launch and open the Cricut Design Space, double-click on it in your Applications folder.
- Sign in with your Cricut account ID and password.